Thursday, February 3, 2011

Fun with Friends and My Silly Boy!

Just a little glimpse into the past couple weeks...
Pablo/Papa with the boys...
"The Patch"...I LOVE THEM!
Aunt Lisa with the beautiful older sissies...
The gorgeous birthday girl and me!!! Love you Mops! I loved seeing you!
Things got a little weird...
My little guy working hard...
Then he got silly...

This little boy is JUST like his Daddy...goofy, goofy, goofy!
I found my Parker-man sitting on his stool like he was sitting at a desk working on his toy like it was a computer! :) No pants and a cowboy hat...I love this silly guy.

Monday, January 31, 2011

Have you heard??? She's coming!!

I'm referring to none other than The Pioneer Woman, Ree Drummond herself!!! She will be in Memphis February 26th at Davis-Kidd. You better believe I will be there! I have definitely enjoyed the cooking part of her blog, and I have enjoyed her cookbook since receiving it for Christmas! (Thanks, Rox!)
I didn't see a point in re-posting a recipe of hers that she has already beautifully documented on her blog, but I thought I would provide you with a photo of our attempt at re-creating the Portobella Mushroom Burgers. They were amazing! I'm a huge fan of portobellas anyway, and this recipe (minus the prosciutto...not a fan of salty ham...) was delish. I think next time I may try a pesto-mayo spread...

I shared quite a few recipes with you recently, and I never fully explained why! Although I do love to cook anytime of the year, I wanted to make Kyle's birthday special with some of his food favorites! Hence all of the tastiness...here are a few pictures of the fun things we did to celebrate the big 2-8.


We got to celebrate, just the two of us, the night before Kyle's birthday!


Kyle went hunting the morning of his birthday, and he came home to Parker-man giving him a Happy Birthday sign that he colored!!


This is what happened when I hacked into an onion...I had JUST done my make-up. All for the hubby! :)


Kyle with his present!! He can't wait to use it over spring break!

Kyle and Parker enjoying a story.

We had a fun weekend!! Here's to another fun year with my best friend!

Thursday, January 20, 2011

Homemade Caramel Corn

I absolutely LOVE Crunch 'n' Munch....but have you noticed how little caramel corn is in that box?? We don't buy it THAT often, but I do feel like money is wasted when we do buy it...I was so annoyed one time that I decided it was time to try and make our own... Most of the recipes I found used corn syrup, and I didn't have any on hand...so I used this recipe using molasses! It's delicious!! I will never buy Crunch 'n' Munch again!

Caramel Corn w/ Peanuts
Ingredients:

2 bags of white popcorn (light butter but preferably NO BUTTER)
1/2 cup roasted peanuts (I add a little more...)
3/4 cup brown sugar (I use dark...)
1/8 cup white sugar
3/8 cup molasses (I cut the original recipe in half...)
1/2 stick of butter
1/2 tsp. salt
1/2 tsp. vanilla
1/4 tsp. baking soda

-Pop both bags of popcorn.
-Once they've cooled, scoop popcorn out by hand and put into a large bowl. (This is to avoid putting unpopped kernels in with the popcorn...) Sidenote: It wouldn't be a bad idea to spray a light coat of cooking spray in the bowl before putting in the popcorn. This is where you will be mixing in the caramel.
-Sprinkle the peanuts on top of the popcorn. If you mix the peanuts into the popcorn, they will all fall to the bottom and will not collect any caramel!

-Put brown sugar, white sugar, molasses, butter, and salt into a medium saucepan.
-Use med/high heat and slowly stir mixture as it melts.
-Bring to a boil and boil five minutes.
-Remove pan from heat.
-Stir in vanilla...
-...and baking soda. This is my FAVORITE part! It's so cool to see the caramel change and fizz up!
-Immediately pour caramel over popcorn and peanuts. Work quickly or the caramel will start to harden making it difficult to mix with the popcorn.
-Turn out into a large baking sheet (lightly greased) and bake at 250 for one hour.
-You are supposed to stir the popcorn occasionally while it's baking...I forgot with this batch, and it turned out perfectly fine!
And voila! The best caramel corn you will EVER eat. Try not to eat it all at once...

Sunday, January 16, 2011

Pumpkin Cake

Are you sick of recipes? I hope not because I have another Routh family staple to share! I was informed before Kyle and I got married that this was another MUST! Carrot/Pumpkin/Sweet Potato Cake! I think I've eaten this at every Routh birthday I've been to so far... and it's VERY tasty! Kyle and I enjoy the cake with pumpkin the most because it makes it nice and moist. So without further adieu...
Ingredients:
1 15 oz. Canned Pumpkin (or 3 cups grated carrots or 15 oz. canned sweet potato)
2 cups all-purpose flour
2 cups sugar
2 tsp. baking soda
1 tsp. baking powder
1/2 tsp. salt
1 tsp. cinnamon
4 eggs, well beaten
1 1/2 cups canola oil
1 tsp. vanilla

Preheat oven to 350.


There are many opinions on greasing a cake pan, but my favorite method is using shortening and flour (I got a lot of great cake baking tips from the Make A Cake series on Make It and Love It.)
-Just stick a folded paper towel into a tub of shortening and spread a thin layer in all three pans...

-Lightly dust each pan with flour and shake out the excess. Set pans aside.
-Combine flour, sugar, baking soda, baking powder, salt, and cinnamon in a large bowl.
-Crack 4 eggs into a small bowl and whisk until well beaten.
-Add eggs, oil, vanilla, and pumpkin to the dry ingredients.
-Mix well with a standing or hand mixer.
-Make sure the mixture is nice and smooth.
-Evenly divide cake batter between the 3 greased and dusted cake pans.
-Bake (at 350) for about 30 minutes or until cake tests done. (I use the toothpick test, and it works every time!)
-Let cakes cool before turning out on a baking rack (or foil...or wax paper...whatever works best!)

While the cakes cool, prepare the cream cheese frosting...
Ingredients:
1 16 oz. pkg. powdered sugar
1 8 oz. block of cream cheese, softened
1/2 cup butter or margarine
1/2 tsp. vanilla
1/2 cup-1 cup chopped pecans (optional)
-Soften cream cheese and butter. (I usually put them in the same bowl in the microwave for 20-30 seconds.)
-Pour in vanilla and cream together with standing or hand mixer until smooth.
-Add powdered sugar and mix.
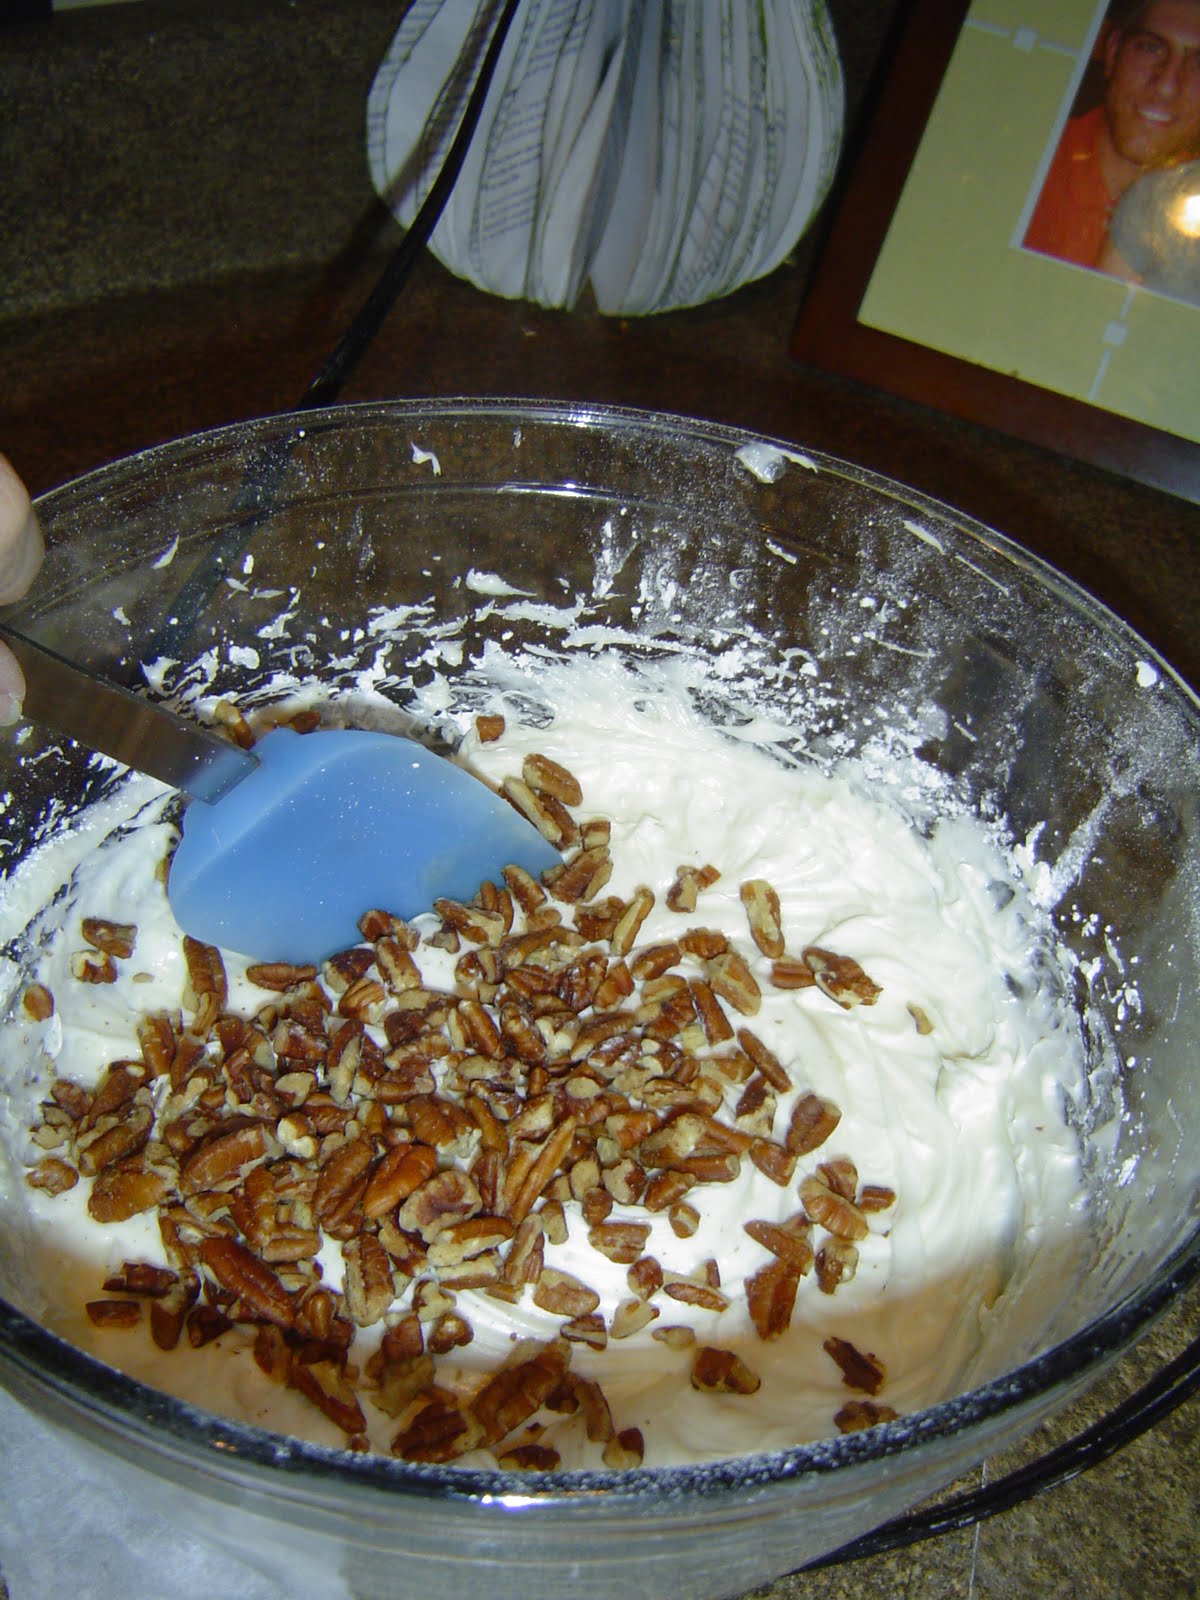
-Once smooth and creamy...
-...add pecans and hand mix until well incorporated.
- If your cakes are cool, they should be ready to frost. (If the cakes are still warm, it may be worth waiting to frost them...the cream cheese frosting will easily melt which would make it difficult to spread!)
-To keep the cake in place while spreading the frosting, spread a little frosting in the middle of the cake stand (or plate).
-Place the first layer down, and start frosting! My favorite tool is just a rubber spatula.
-Second layer, and frost...
-Third layer, and frost...
-This is my favorite part! Covering the sides and trying to act like I know what I'm doing...I love to spin the cake stand while spreading the frost around the sides! :)
-And you're done! Make sure to leave a little extra frosting to eat...it's so worth it!

Did I mention I made this for my husband's birthday?? He turned 28 this weekend! Happy, happy birthday to my best friend!! Love you, Kyle!

Saturday Creations!

Anyone heard of Gussy Sews? I have been following her blog for awhile now, and I've really enjoyed reading about her journey from teaching herself how to sew to owning her own handmade business! She makes anything from cute zippered pouches to laptop bags to diaper bags, all with her "signature ruffle." (Check out her shop, too!)

Yesterday she posted a little tutorial on finger knitting, and I couldn't help but try it out! As far as I know, finger knitting is popular with elementary school girls, but I had never learned! I loved Gussy's yarn necklace so I made one for myself...
I also made a "garland" to wrap around my neck like a thin scarf...
Check out her tutorial here to learn how! Have fun!

Oh, and excuse the awkward self-taken photos...