
It's hard to turn down new accessories. It's even harder to turn it down when it's free. If you can make it yourself... best case scenario. Let's get down to it...
What you need:
Lace Trim (or long strip of ruffled fabric)
Coordinating felt
button(s)
velcro
scissors
glue gun
Headband/hair clip/bobby pin/etc.

Get an idea of how big you want your fabric flower. Start with a small dab of glue and press the end down. Place a skinny strip of glue in an arc and begin to press down the lace trim in little folds to give the flower texture. Keep gluing small lengths at a time and spiral the lace inward. The closer together you glue the layers (as you spiral inward) the fuller your flower will be!

Once you reach the middle, cut the strip and glue it down. Don't worry too much about how it looks when you finish it off because it will be covered!

Just a finished view of the flower:

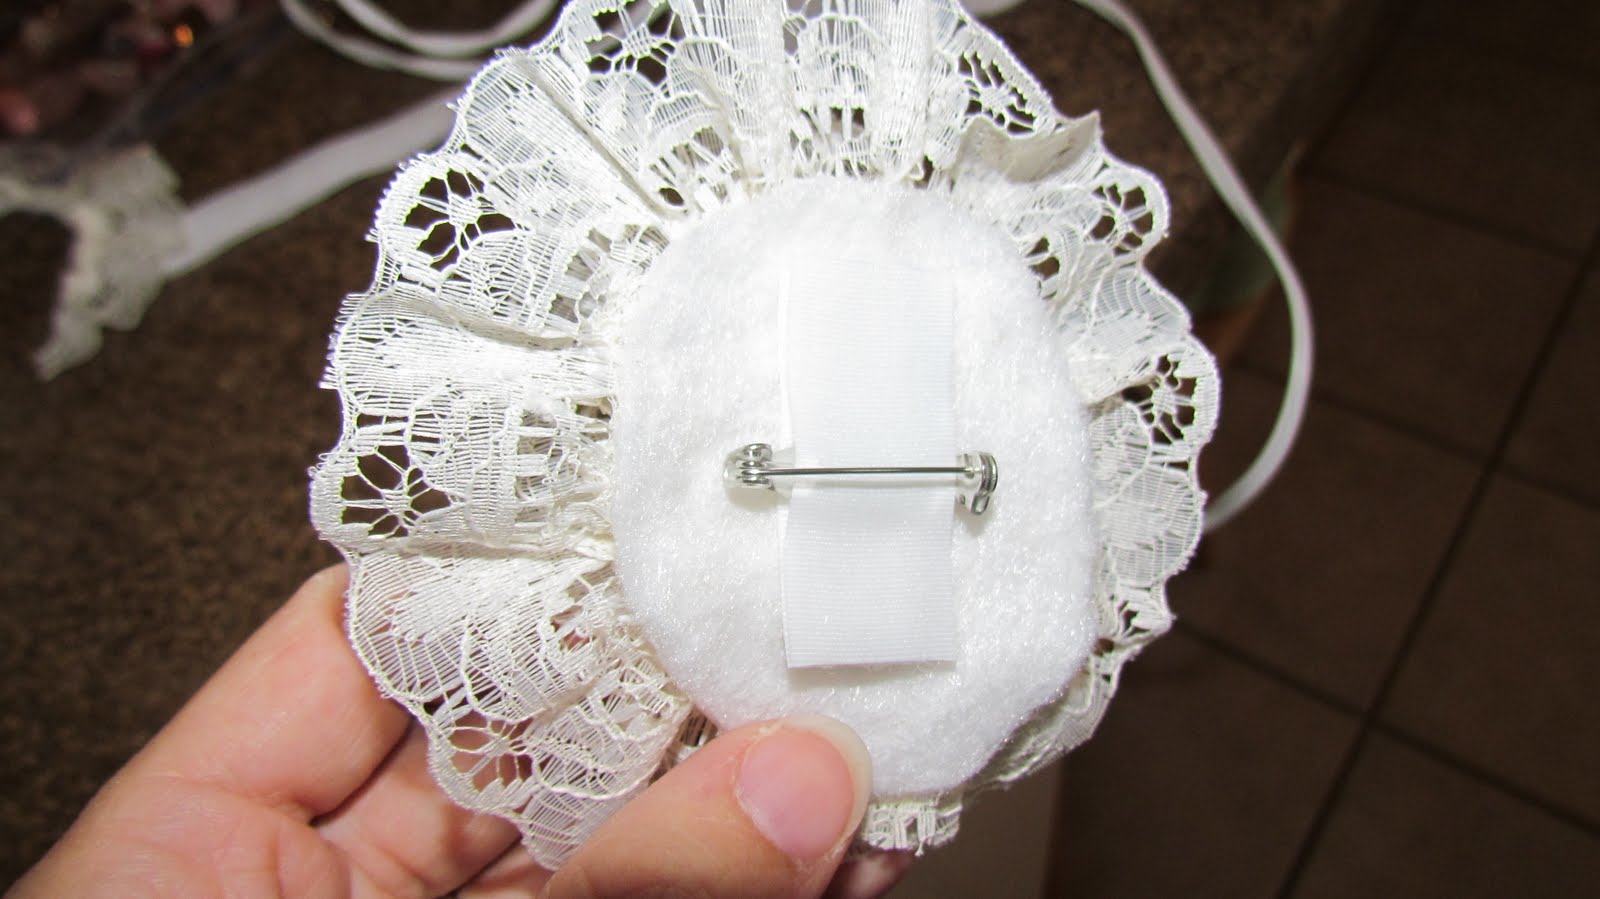
Next, carefully cut around the felt on backside of the flower, and glue one side of the velcro to the middle of the felt. (Not pictured)

Choose a button (or a group of buttons) to glue in the middle, and if you realize your flower is way too big... trim off some of the lace!

Once the glue on the velcro is cool, attach your flower to a headband...

or a pin...
...and pin it to your jacket or cardigan (or purse)...

...or attach it to a hair clip!

Obviously you could just glue the flower directly to a clip or headband or whatever, but I found it fun to be able to change it up!
If you felt the need to make it "classier" or you have a longer amount of time, you could always use a needle and thread to create your fabric flower!
I made mine pretty big but you could also make a couple of smaller ones and group them together. I would love to see yours if you try it out!!
Happy accessorizing!
No comments:
Post a Comment